Install Manual: Glide Away (Doors & Frame)
How to Install a Glideaway:
-
-

-
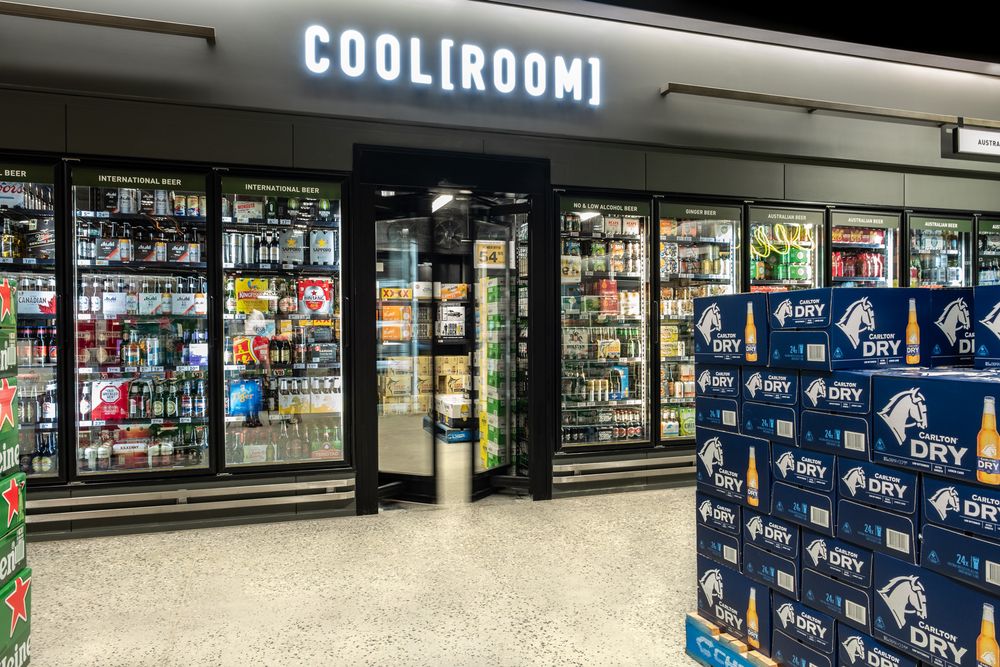
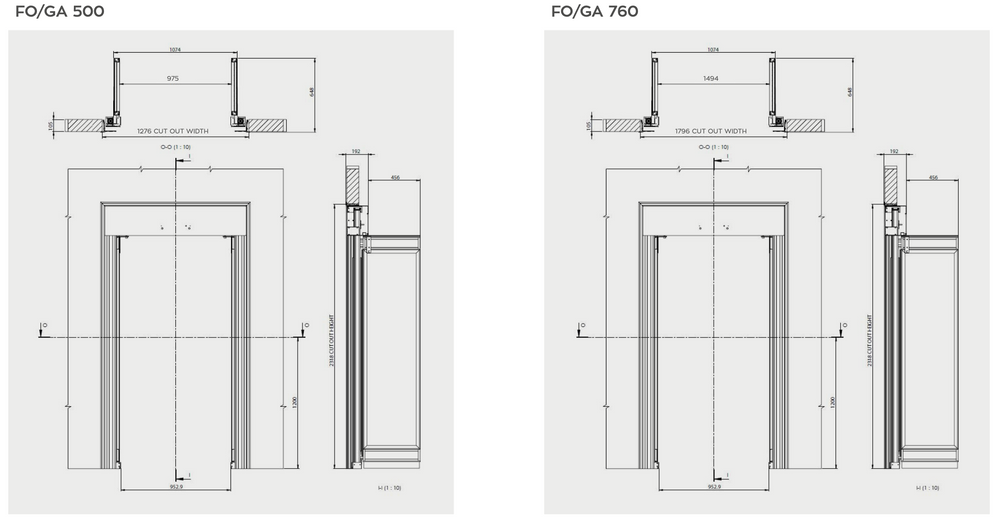
1Prepare the opening.Ensure that the door opening is capped with an aluminum angle to the correct size.
-
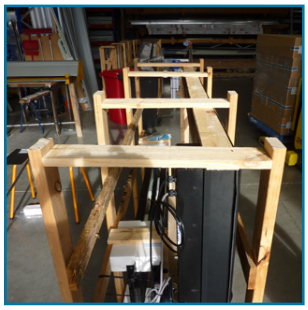
2Remove the timbers.Remove top cross timbers from the crate and the side of the frame will be loose.
-
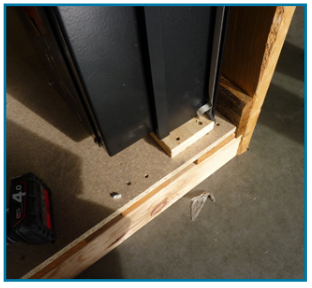
3Remove the screws.Remove screws from both ends of timbers that fix the frame to the base.
-
4Place the frame in an upright position.Note: As a safety precaution, use two people for this step.
Carefully stand the frame up with the motor unit to the top, be aware that the frame is unstable and top-heavy.
-
5Position the unit.Bring the unit close to the prepared opening and lay it towards the wall with the flanges towards the retail area.
-
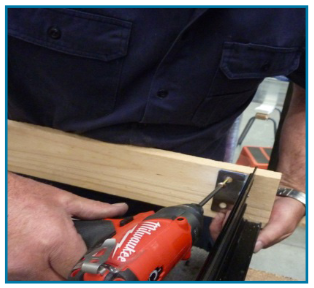
6Position the frame.Lift frame in to place as close as possible and then remove the timber cross piece from the foot brackets.
-
7Push the frame into place.Push the frame into place.
-
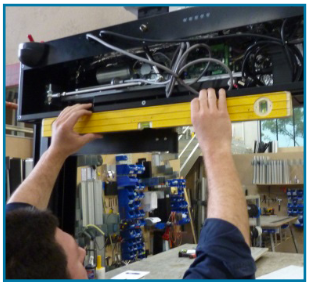
8Ensure alignment.Ensure the sides are plumb in both directions and the head unit is perfectly level, pack under the foot plates if required. The door will not function correctly if this is out of alignment!
-
9Twist the drive arms.Twist the drive arms into the cool room area and access the mounting screw holes.
Note: DO NOT drill any hole in the perimeter – there are 240v heater cables in the back of the perimeter.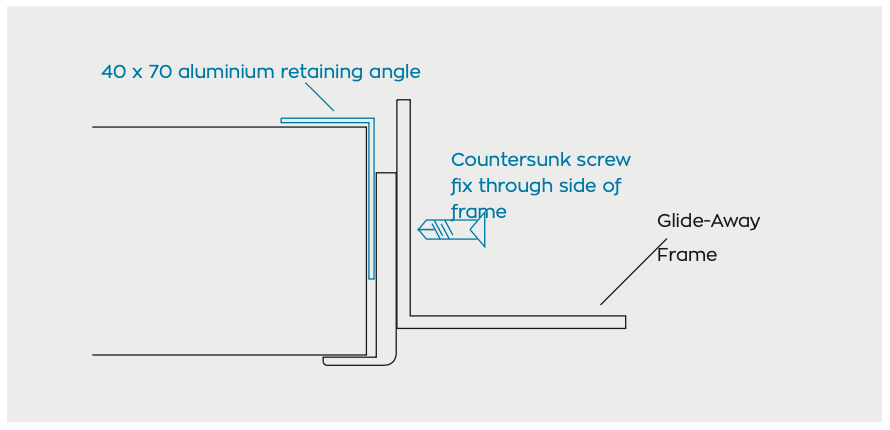
-
10Fasten into place.Fasten into place using all the available mounting holes.
-
11Re-check alignment.Re-check for plumb and level.
-
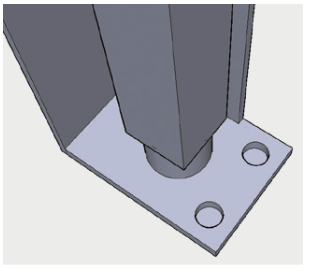
12Fasten the foot plates.Fasten the foot plates with masonry anchors provided.
-
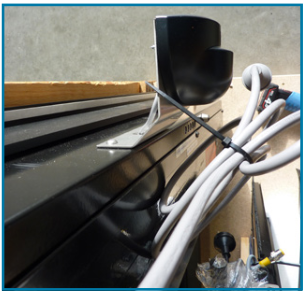
13Undo the rear sensor button head and remove washers.The rear sensor has been installed upside down for ease of transport and installation, undo the button head screws and remove the 8 washers.
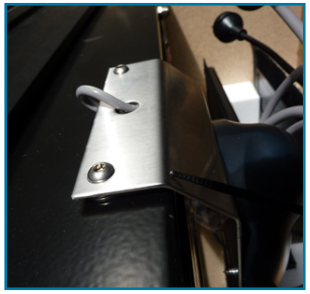 Turn the sensor over and refit to the top of the unit without the washers, tighten screws in place.
-
14Plug in and turn it on.
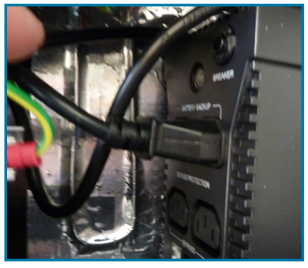
- Do a visual check before turning it on. Make sure UPS is plugged correctly into the battery backup socket.
- Plug in the motor and heater plugs and turn on.
-
15Test the sensor.Plug in the unit using the grey cable, the unit will now go through a RESET and be ready for operation, test sensors are operating the unit in the correct manner, it is easier to do the test functions without the doors, set the front sensors safety beam, set up the sensor adjustments if required, these are pre-set in the factory but may need site-specific adjustments.
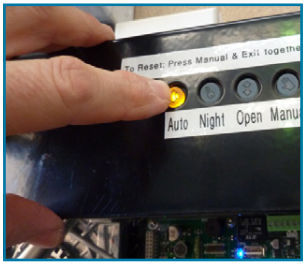
- To adjust the sensor- carefully take the cover off. You can also adjust the sensitivity of the sensor by pressing either of the top buttons on the right – plus or minus.
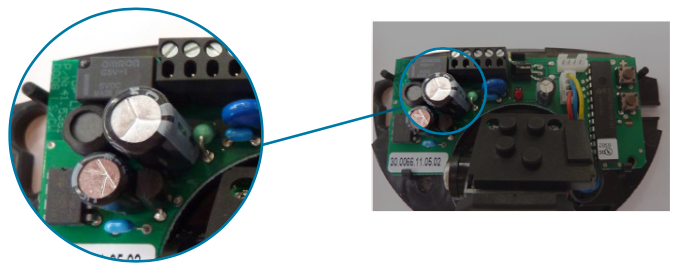
- Retest the doors- refit the cover on the sensor.
- External sensor- IX10. This is the one fitted to the front perimeter frame.
Note: This sensor also has an infrared safety beam built in. When Sensor is turned on – it takes a picture of the area it is covering and memorises it.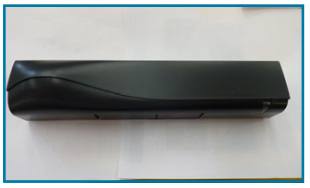
- Make sure there isn’t anything that can set off the sensor incorrectly. Make sure that the internal sensor can’t be set off as well. Stand back from the doors and walk towards it – make sure the sensor is activating 1.8 Metres before the opening.
- Take the cover off the sensor and swivel left or right and up and down to suit.
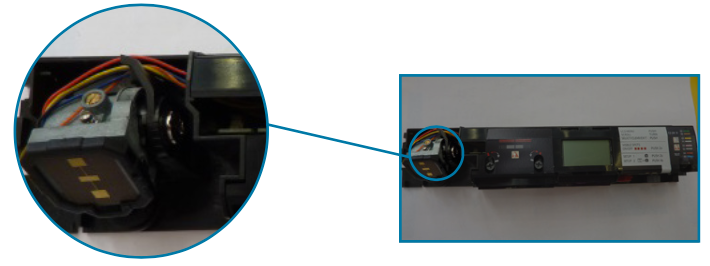
- Infrared Safety Beam needs to be checked and tested. Push the grey button
on the front of the sensor two times- these will activate led beams on the floor
to show activation area. To adjust the width of the beam there are a plus or minus screws on the front of the sensor. Adjust which one you need to reduce or increase the beam width. To adjust the angle of the beam and where it starts you twist the red button clockwise or anti-clockwise – make sure that the beam isn’t hitting the front of the door. Both of these adjustments are mechanical so the door will keep these changes – there aren’t any further steps needed.
- Once the infrared beam is set correctly, refit the sensor cover.
- To adjust the sensor- carefully take the cover off. You can also adjust the sensitivity of the sensor by pressing either of the top buttons on the right – plus or minus.
-
16Unplug the unit.When the unit is operating correctly, unplug the unit ready for installation of the doors.
-
17Set up the pins.Set up the pins in the bearing blocks so that they are flush with the bearing blocks; fit the grub screw finger tight to hold them in place.
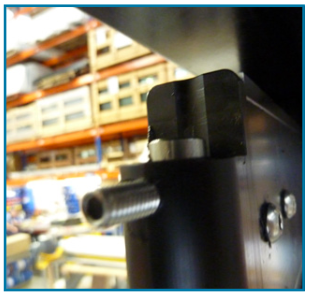
-
18Remove the first door from the crate.Note: As a safety precaution, use two people for this step.
Remove the first door from the crate and remove the stretch wrap from the top bracket ensure that the roller remains in position.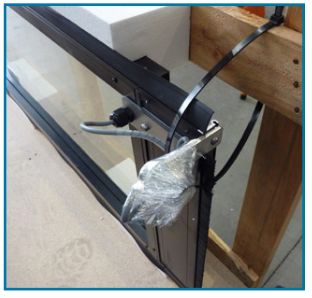
-
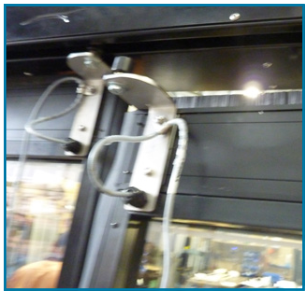
19Fit the door.Fit the door so that the top bracket is on the cool room side. Lift the top into place first and ensure the roller is inside the roller groove.
-
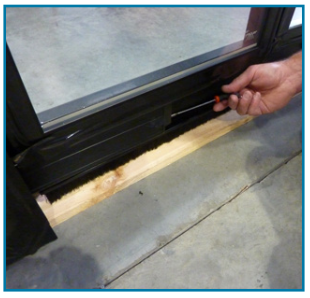
20Fit the pins into the bushes.Fit the pins into the bushes in the doors and use a 3mm Allen key to fit the grub screw in place, line up the hole in the pin with the grub screw hole.
-
21Fit the heater cable.Fit the heater cable from the door into the matching socket on the head unit.
-
22Repeat the steps for door two.Repeat Steps 16 to 21 for door two.
-
23Plug and secure the cables.The unit is now ready for operation, plug in the black heater cable and secure the cable, plug in the grey motor cable and the door will be operational.
-
24Troubleshoot any issues.
Issue Steps Door is not opening - Check that the switch is set to AUTO.
- Check that nothing is in the road of the door, or stopping it open.
- Check the front and back sensors. Do the small red and green indicator lights come on when you approach the door?
- If not, the sensors may require service or replacement.
Door is not closing - Check that the switch is set to AUTO.
- Check that the switch is NOT set to OPEN.
- Check that nothing is sitting in front of the sensors.
- Check that nothing is pressing on or activating the green emergency exit button.
Door is hesitating, or functioning erratically - Check whether anything is interfering with door operation.
- Check whether anything has bumped or jammed the door previously.
- Check that the rear sensor is not “Ghosting” with door movements.
- Refer to set up of sensors POINT 14.
Water droplets are forming on door and running off - Check that the door heater supply is on.
- Feel the door to see if warm.
- Check that the store air conditioning is maintaining ambient conditions of 23°C / 55%RH
Door is squeaking or making unnecessary noises - Has the door been serviced every 3 months by a registered service agent?
- Where is the noise coming from?
- Is it from the motor?
- Or is it from the guide rollers?
Door not operating correctly If the door does not operate correctly and there are no visible lights on either sensor. Ensure the toggle switch is in Auto. Then hold the reset button for 5 seconds until it beeps. The door will do a series of moves to set the limit switches and will function automatically. 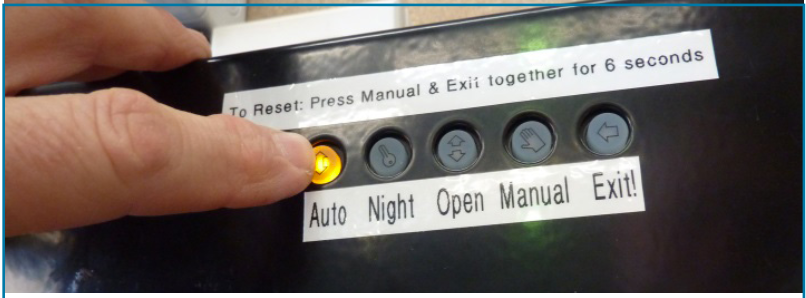
-
25MaintenancePlease ensure the Glide-Away door unit is being serviced every 3 months by a registered service agent.
Failure to have adequate service could cause irreparable damage to the unit, and void any factory warranty.
Enquiries can be directed to Phone: 1300 780 186 | Email: cs@focusdoors.com.au
Did this answer your question?
If you still have a question, we’re here to help. Contact us
